
Building strong, balanced legs requires direct hamstring training. The seated leg curl is one of the most effective isolation exercises for this muscle group. It isolates the hamstrings through knee flexion while keeping the hips locked in a fixed position.
Many lifters treat machine work as an afterthought. However, setup details directly dictate your muscle growth and joint comfort. Small adjustments to the seat, thigh pad, and leverage arm completely change how the movement feels.
This guide covers everything you need to know about the seated leg curl. You will learn proper machine adjustment, optimal biomechanics, common execution errors, and how to program it into your training.
Why the Seated Leg Curl Belongs in Your Leg Day Routine
The hamstrings consist of three primary muscles: the biceps femoris, semitendinosus, and semimembranosus. Most hamstring exercises fall into two movement patterns. These are hip extension (like Romanian deadlifts) and knee flexion (like leg curls).
The seated leg curl targets knee flexion while placing the hips in a flexed position. This flexed hip angle creates unique biomechanical advantages for hamstring hypertrophy.
Superior Hamstring Stretch Under Load
The hamstrings are bi-articular muscles. This means they cross two joints: the hip and the knee. The only exception is the short head of the biceps femoris, which only crosses the knee.
When you sit with your torso upright, your hips are flexed at roughly 90 degrees. This hip position stretches the long head of the biceps femoris, semitendinosus, and semimembranosus at their origin on the pelvis. Performing knee flexion while the hamstrings are already lengthened puts higher active tension on the muscles. Research shows that training muscles at longer length generally yields greater hypertrophy.
Joint Stability and Isolation
Free-weight hamstring exercises demand significant lower back and core stabilization. While compound movements are valuable, they can exhaust your spinal erectors before your hamstrings reach true muscular failure.
The seated leg curl eliminates balance and lower back limitations. The seat back, lap pad, and handles brace your body firmly. This high degree of stability allows you to push your hamstrings to absolute failure safely.
How to Do the Seated Leg Curl with Perfect Form
Proper machine setup prevents joint discomfort and ensures maximum load stays on the hamstrings. Take time to adjust the machine before loading heavy weight.
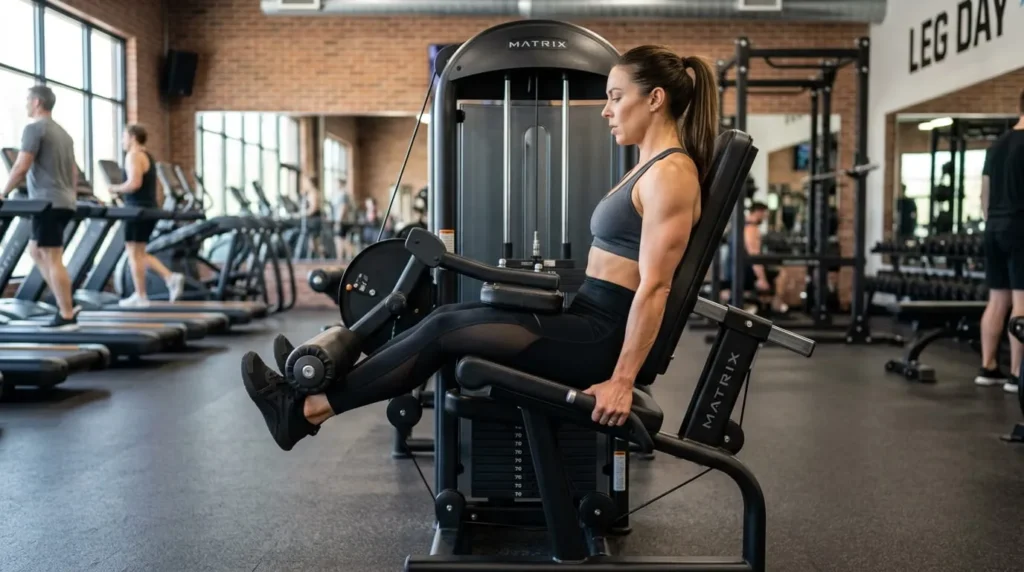
Step 1: Adjusting the Backrest and Pivot Point
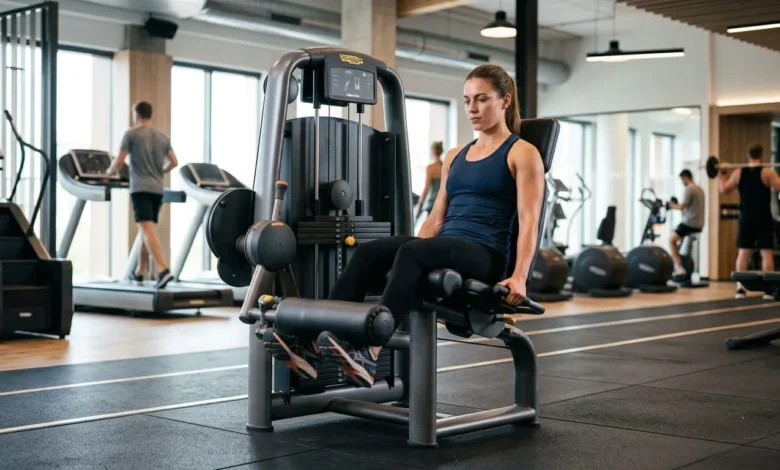
Sit on the machine with your back flat against the backrest. Align the main pivot point of the machine directly with your knee joints.
If the machine’s axis of rotation does not align with your knees, the ankle pad will scrape against your lower legs as you curl. Move the backrest forward or backward until your knees match the machine’s rotating axis perfectly.
Step 2: Setting the Ankle Pad and Thigh Clamp
Position the ankle pad so it rests on the lower calf, just above your Achilles tendon. It should not press against your heels or rest high up on your calf muscle.
Next, lower the thigh clamping pad firmly onto your quads. This pad must fit snugly against your lap. It stops your knees from rising and prevents your hips from sliding forward during heavy reps. If the thigh pad is loose, your hip flexors will pull your body out of alignment.
Step 3: Executing the Repetition
- Sit back fully against the pad and firmly grip the side handles to lock your upper body in place.
- Plant your lower back securely against the pad and brace your abdominal muscles.
- Flex your feet slightly to keep your calves neutral rather than excessively pointed.
- Curl the padded lever smoothly downward and inward toward your glutes as far as your mobility allows.
- Pause for a brief moment at full contraction, squeezing your hamstrings hard.
- Control the weight as you slowly return to the starting position over two to three seconds.
- Allow your knees to extend almost completely at the top without locking out harshly or letting the weight stack slam.
Common Seated Leg Curl Mistakes (and How to Fix Them)
Avoid these common technical errors to protect your joints and maximize hamstring development.
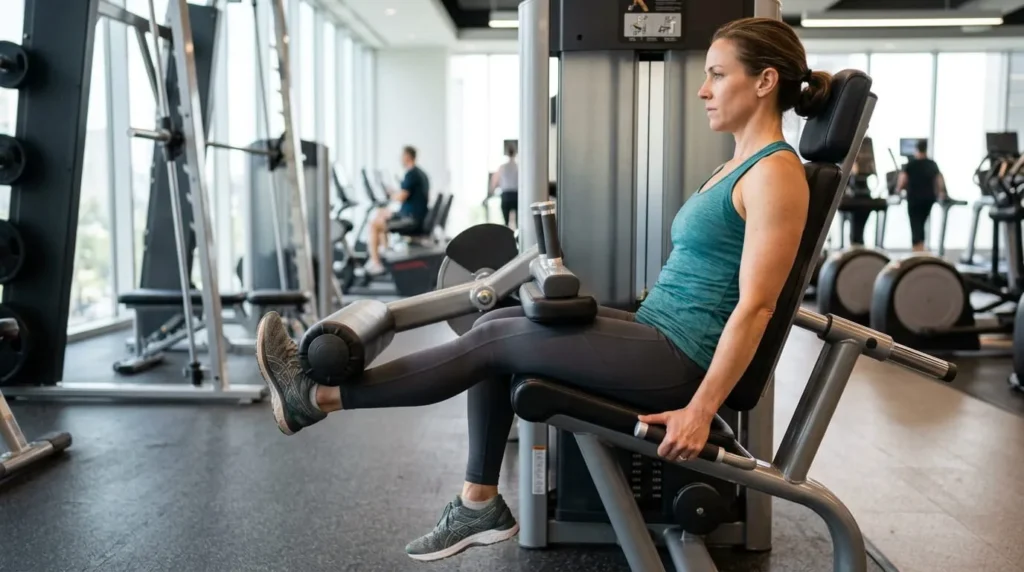
1: Allowing the Hips to Shift Forward
When the weight becomes heavy, your body naturally tries to cheat. Users often let their hips slide forward on the seat during the curl.
This motion reduces hip flexion, which reduces tension on the hamstrings. Keep your hips pinned back into the seat cushion throughout every single rep. Pull upward on the handles to pull yourself down firmly into the pad.
2: Using Excessive Weight and Momentum
Swinging the torso or jerking the weight at the top of the rep takes tension away from the target muscle. It also introduces sudden sheer stress to the knee joint.
Select a weight you can move smoothly without using momentum. Control the lowering phase completely. The eccentric portion of the lift provides a major stimulus for muscle growth.
3: Setting the Ankle Pad Incorrectly
Placing the pad too high up on the calf shortens your leverage arm and makes the lift awkward. Placing it too low against the heel causes the pad to slip off during the contraction.
Ensure the pad rests right above the Achilles tendon. If you feel the pad rolling up or down your leg, re-check your alignment with the machine pivot axis.
Seated Leg Curl vs. Lying Leg Curl: Which Is Better?
Both exercises build the hamstrings, but they affect the muscle tissue differently due to hip positioning.
| Feature | Seated Leg Curl | Lying Leg Curl |
| Hip Position | Flexed (~90 degrees) | Extended (~0 to 15 degrees) |
| Hamstring Stretch | High (Lengthened state) | Moderate (Shortened state) |
| Lumbar Stress | Very Low | Low to Moderate (Risk of arching) |
| Primary Focus | Maximum Hypertrophy & Full Stretch | Peak Contraction & Knee Flexion |
| Ease of Setup | Quick (Seat and pad adjustment) | Quick (Pad height adjustment) |
Active Insufficiency and Hip Angle Dynamics
In the lying leg curl, your hips lie flat. This extended hip position places the bi-articular hamstrings in a shortened state before you even begin curling.
When a multi-joint muscle is shortened at one joint, it loses its ability to generate maximum force at the second joint. This phenomenon is called active insufficiency.
Because the seated leg curl flexes the hips, the hamstrings remain at an optimal length-tension relationship. They can produce force more effectively across the full range of motion.
Hypertrophy Differences in the Bi-Articular Hamstring Heads
Scientific studies comparing seated and lying leg curls indicate that seated leg curls produce greater muscle growth overall.
Specifically, the long head of the biceps femoris, semitendinosus, and semimembranosus show significantly more growth from seated curls. The short head of the biceps femoris, which does not cross the hip joint, responds equally well to both variations.
For complete development, the seated leg curl is generally the superior standalone choice. However, combining both variations across a training week yields well-rounded development.
Best Seated Leg Curl Variations and Alternatives
You can modify the exercise to address strength imbalances or adapt to available equipment.
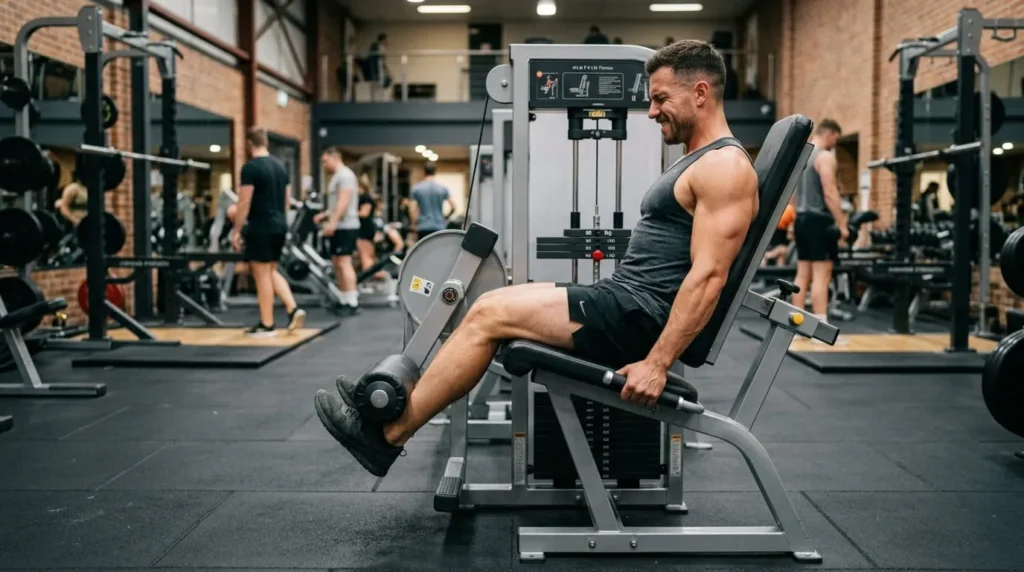
1: Single-Leg Seated Leg Curl
Most lifters have a dominant leg that handles more load during bilateral movements. Performing the exercise one leg at a time ensures equal work distribution.
Use the exact same setup as the standard variation, but place only one leg over the ankle pad. Keep your non-working leg resting comfortably on the floor or foot platform. Focus on smooth, deliberate contractions.
2: Accentuated Eccentric Seated Leg Curl
Your muscles are naturally stronger during the lowering phase of a lift than the lifting phase. You can exploit this with eccentric overloads.
Curl the weight down using both legs. At the bottom of the movement, remove one leg and lower the weight back up slowly using only the remaining leg over a period of four to five seconds. Alternate legs on each rep.
3: Resistance Band Seated Leg Curl
If you train in a home gym without selectorized machines, you can replicate the movement using a resistance band and a standard utility chair.
- Anchor a heavy resistance band to a secure post near floor level.
- Position a sturdy chair facing the anchor point a few feet away.
- Loop the band around both ankles while sitting in the chair.
- Flex your hamstrings to pull your heels back underneath your seat.
- Hold the contraction briefly before controlling the return.
How to Program the Seated Leg Curl for Maximum Growth
The hamstrings contain a high proportion of fast-twitch muscle fibers, which respond well to moderate-to-heavy loads and high intensity. However, because knee flexion machine work is non-axial, it does not overload your nervous system as heavily as deadlifts.
Sets, Reps, and Rest Intervals
Place your seated leg curls after your heavy compound lifts, such as squats or Romanian deadlifts. Alternatively, you can use them at the start of a workout to pre-exhaust your hamstrings before compound training.
- For Muscle Hypertrophy: 3 to 4 sets of 8 to 12 reps. Use a 2-second concentric phase, a 1-second squeeze at the bottom, and a 3-second eccentric return.
- For Muscular Endurance and Metabolic Stress: 2 to 3 sets of 15 to 20 reps with shorter rest intervals.
- Rest Periods: Rest 90 to 120 seconds between sets to allow full recovery of force production.
Intensity Techniques for Advanced Lifters
Once you reach a strength plateau, advanced intensity techniques can drive new muscle growth.
Partial Reps at the Stretched Position: When you can no longer complete a full range of motion, perform 3 to 5 partial reps at the top half of the movement where the hamstring is fully stretched.
Drop Sets: Perform a heavy set of 8 to 10 reps to near failure. Immediately lower the weight stack pin by 20 to 30 percent and perform as many additional reps as possible without rest.
Rest-Pause Training: Complete a set to failure around rep 10. Rack the weight, take 10 deep breaths (about 15 seconds), and perform another 3 to 4 reps with the same weight.